
The Design Process
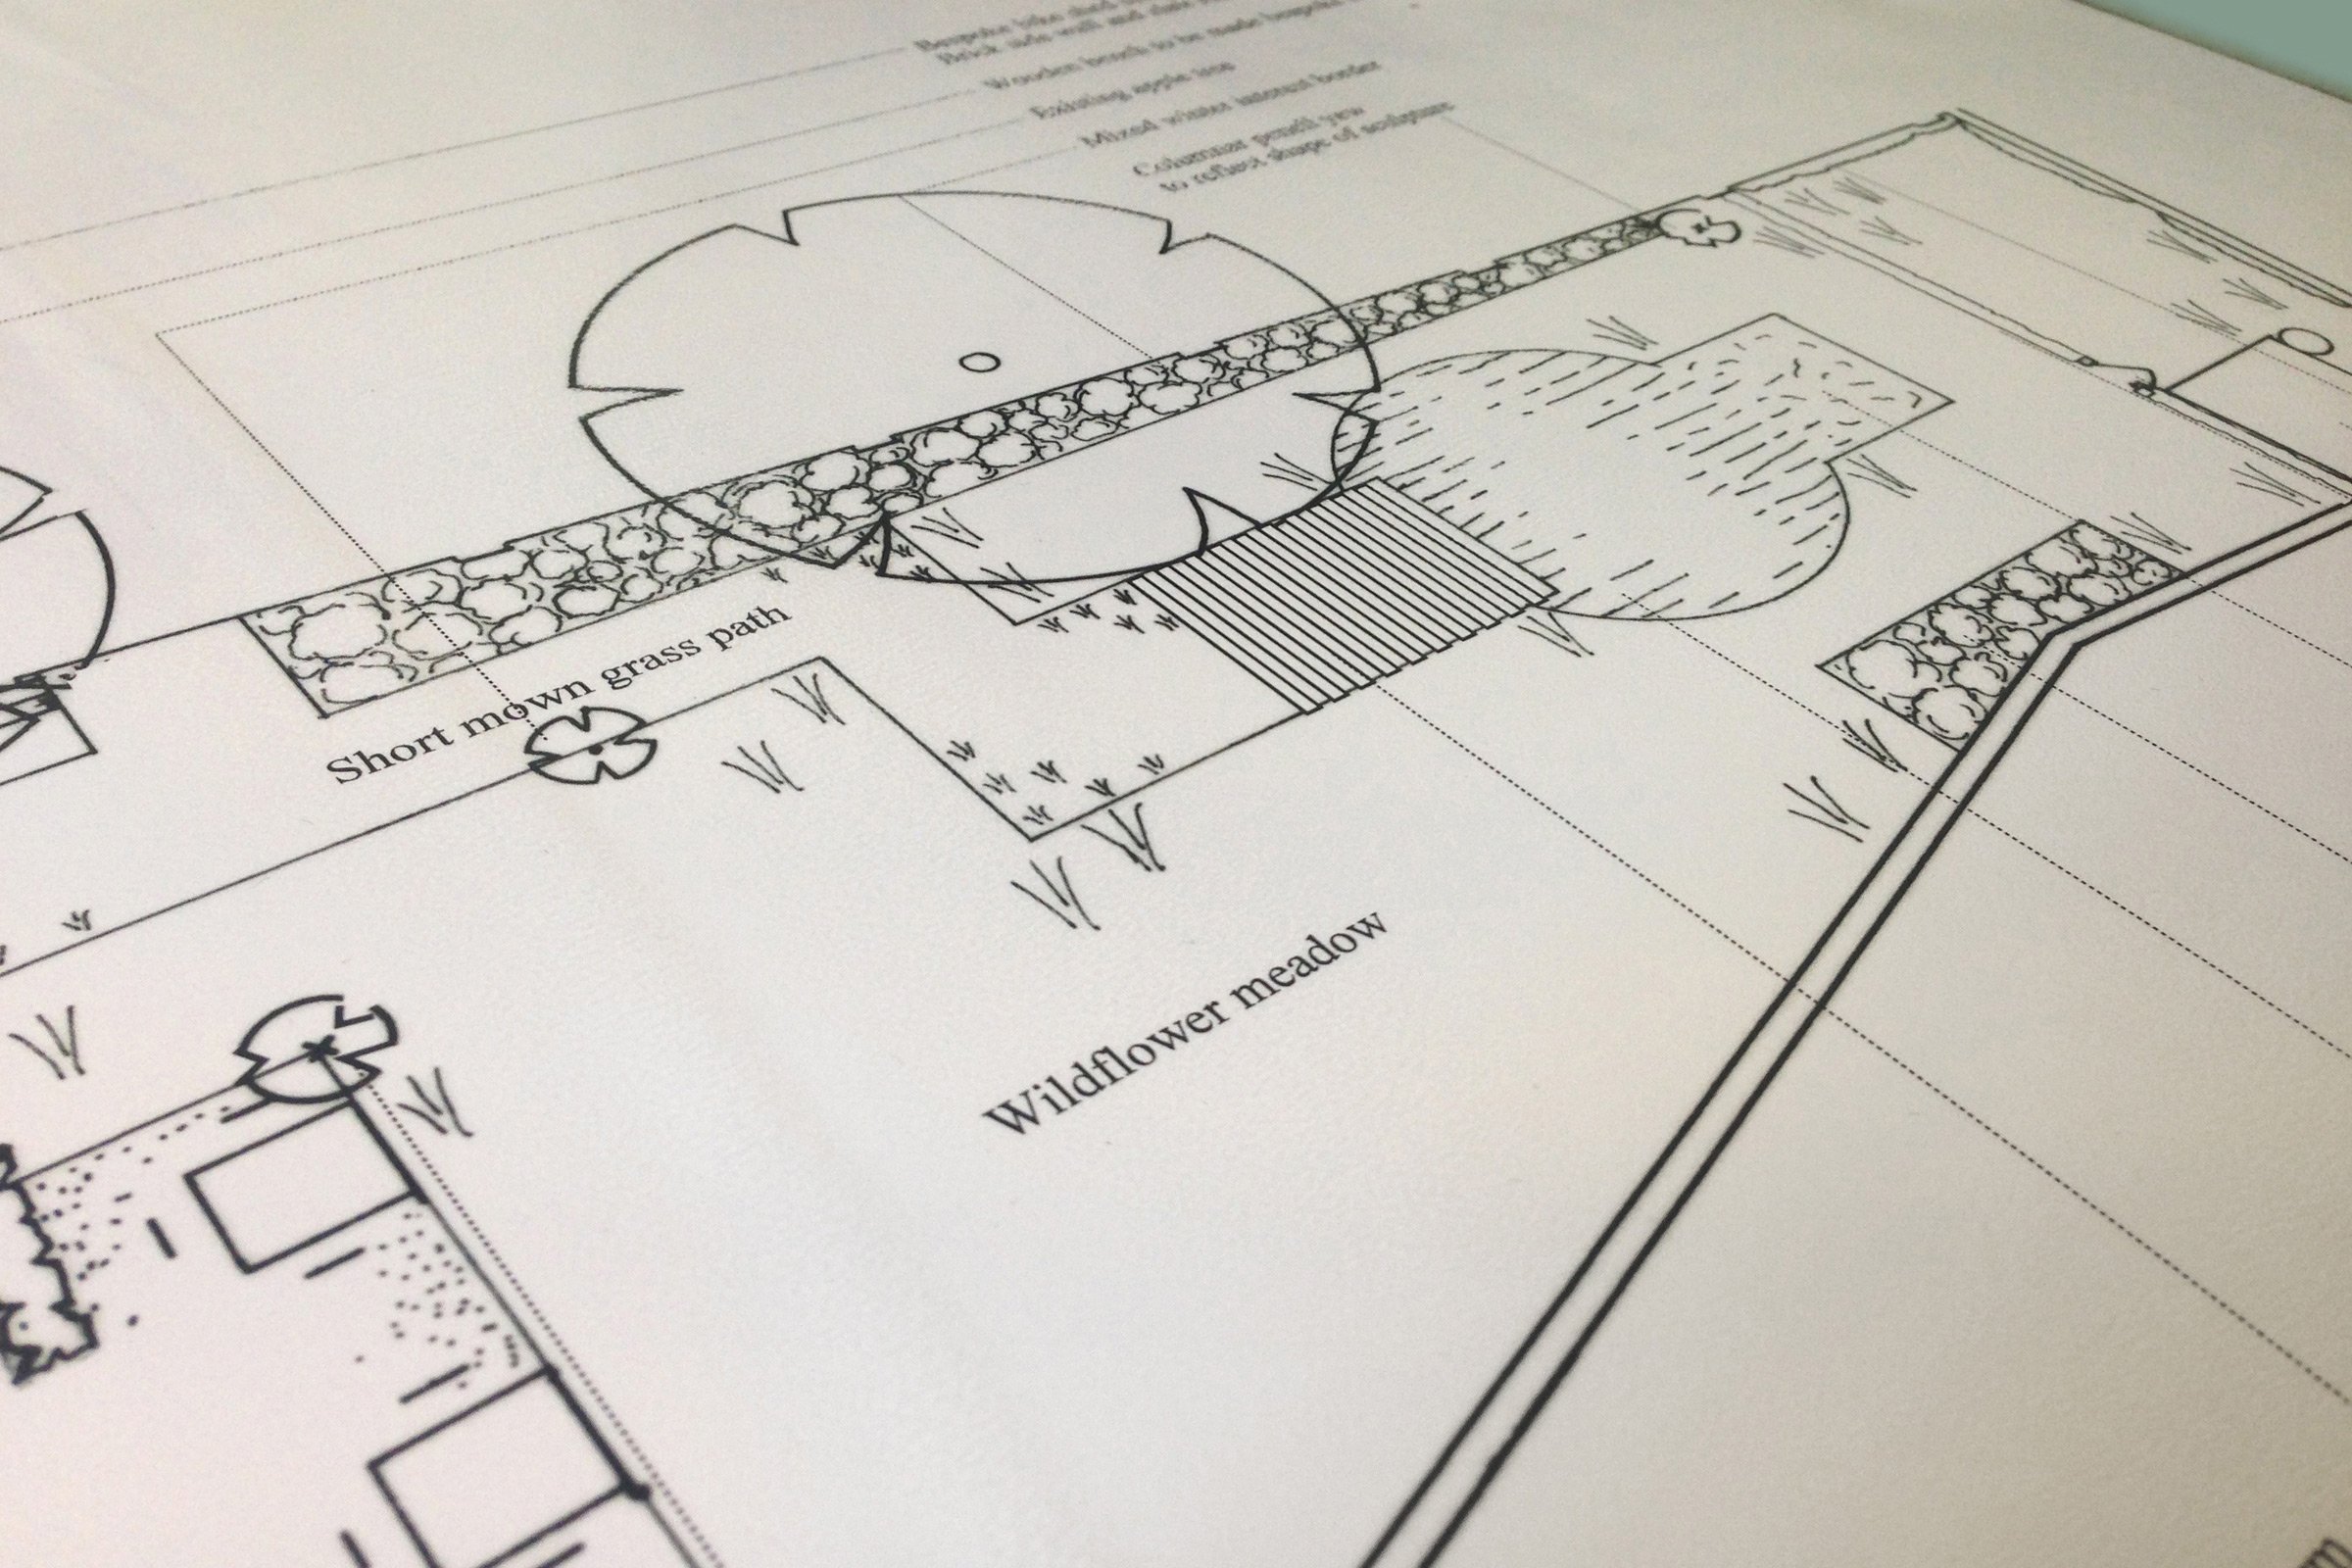
You and I will go through a thorough creative design process, resulting in a hand drawn (but digitally rendered), scaled Master Layout Plan. This contains all the details needed to hand over to a landscaper to build your new garden.
-
Step 1. Home visit
I will come and visit you in your garden, have a good chat, listen to your requirements and maybe take some photos.
-
Step 2. Estimation of cost
I will let you know by email how much your design will cost, and you will decide at this point whether to go ahead.
-
Step 3. Site survey
If you say yes, a site survey will need to be carried out. If your garden is a relatively straightforward shape I can do this. If there are lots of level changes and awkward shapes, a professional surveyor will be needed. Either of these options will be charged separately from the design fee.
-
Step 4. Site analysis
I will come and carry out a site analysis, take lots of photos and generally snoop about, looking at soil, aspect, neighbours etc.
-
Step 5. Your ideas
I will send you a questionnaire asking for lots of detail on what you would like.
-
Step 6. Mood boards
I will start to compile mood boards, and play with shapes and ideas. At this stage there is generally a fair bit of communication back and forth, finely tuning the options so you get exactly what you want. This is the fun stage, where it gets really creative!
-
Step 7. Draft plan and amending process
I will produce a rough version of the Master Layout Plan in pencil for us to discuss and do any fine tuning.
-
Step 8. Master layout plan provided
Once all has been finalised and you are quite happy, I will hand over your finished master layout plan. This is to scale, and contains all the technical detail a landscaper requires to build it. It will give a general idea of how a border might look, and might specify trees and hedge species where appropriate. It may also include 3D sketches depending on need. It does not include the finer details of planted areas – you will need a separate Planting Plan for that.
-
Step 9. Payment or further project management
You then pay me for the design, and this could be the end of my time with you.
OR I can oversee the building process, making sure all is how and where it is intended to be. I charge an hourly rate for this plus travel – we can discuss this.
-
Step 10. Planting plans and planting
I can provide Planting Plans for the planted areas of the garden, and provide plants, and plant them if required.

